
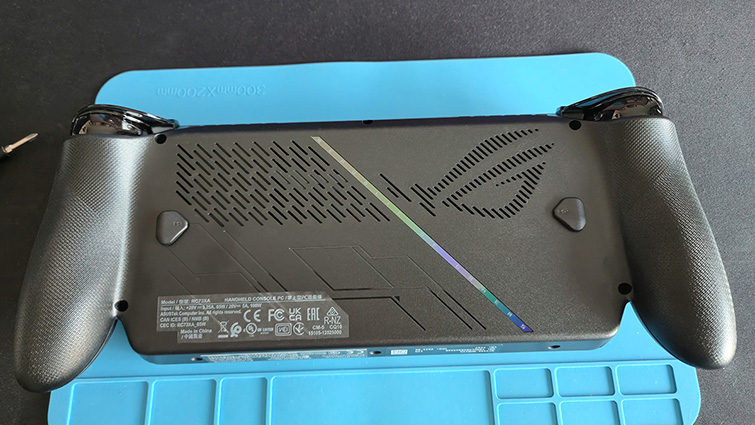
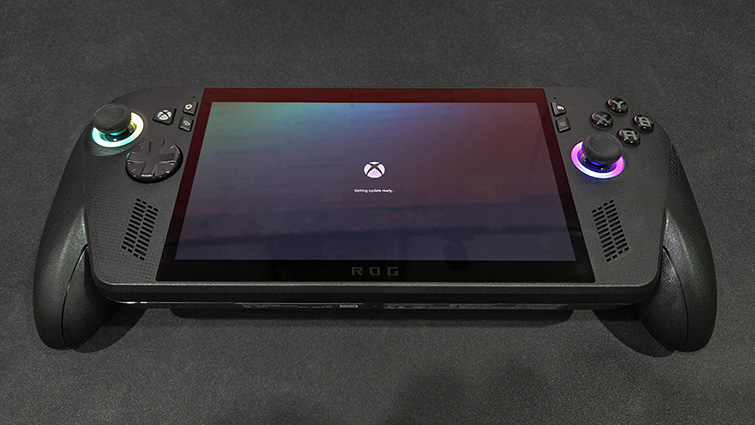
The Asus ROG Xbox Ally X and Xbox Ally have a vast library of great games that will run spectacularly well on the handheld gaming PC. Xbox Game Pass Ultimate subscribers will have an instant game collection of up to 400 games.
Whilst an improvement over the original ROG Ally’s 512-gigabyte NVMe solid-state drive, even the Xbox Ally X’s one terabyte of data storage may not take long to fill up. Thankfully, as with earlier ROG Ally handhelds, Asus have designed the device in a way that allows easy access for the end user to upgrade the device’s SSD.
It’s perhaps not a job for the faint-hearted, but anyone who has a bit of technical nous shouldn’t have too much trouble swapping out the Xbox Ally X’s SSD. Most of the problems are in your head, as you find the courage to dismantle your shiny new AU$1600 device.
The original ROG Ally used an awkwardly sized and expensive 2230 M.2 NVMe solid-state drive. Since the ROG Ally X, Asus’ handheld consoles have been equipped with the more common (and larger) 2280 M.2 NVME drives. This makes the exercise a bit cheaper, which is handy, given that all memory products are skyrocketing in price at the moment.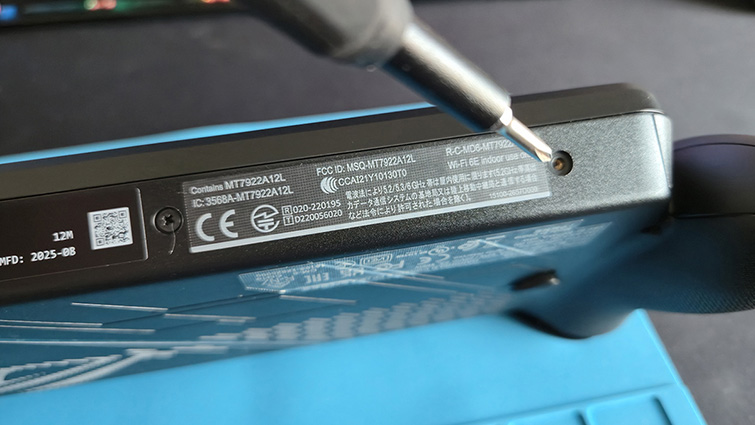
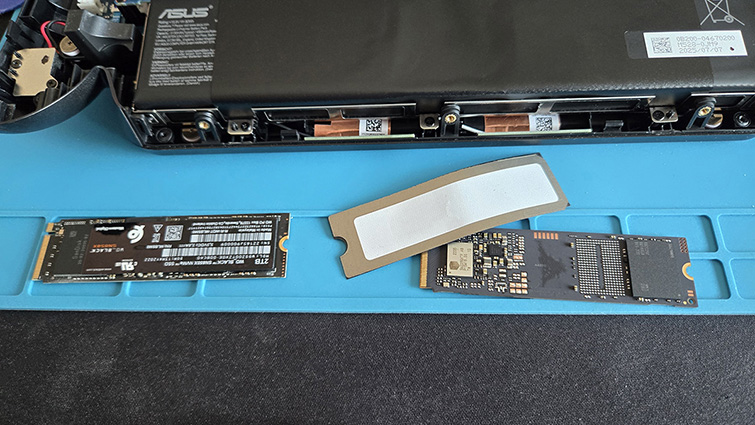
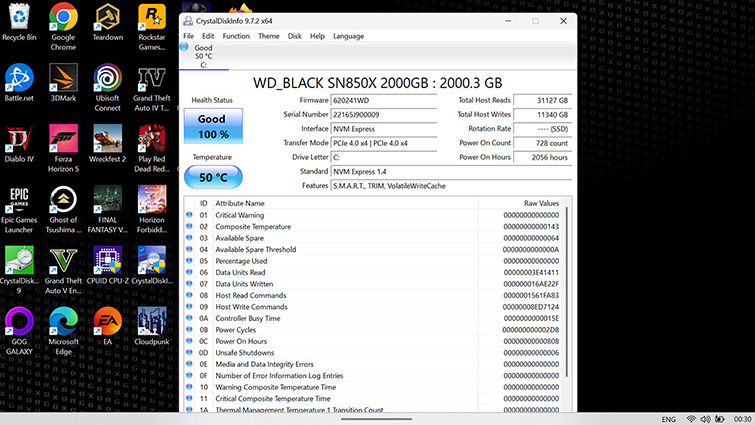
All you need is a Phillips PH0 screwdriver (I recommend iFixit), a spudger or other thin plastic pry tool (a credit card may suffice), and a replacement 2280 M.2 NVMe PCIe 4.0 SSD. I used a 2TB WD_Black SN850X- doubling the Xbox Ally X’s storage space. I’d recommend a single-sided NVMe SSD. Whilst some SSDs with factory-fitted heatsinks will fit, you may need to remove the M.2 mounting base inside the Ally to make space (i.e. best go with an SSD without a heatsink).
Eight screws on the unit need to be undone. There are three at the bottom, four on the back and one at the top. The top screw is used to push the case apart. It’s a captive screw, so it won’t undo all the way out, but it will create a little gap for your pry tool, once all the other screws are removed.
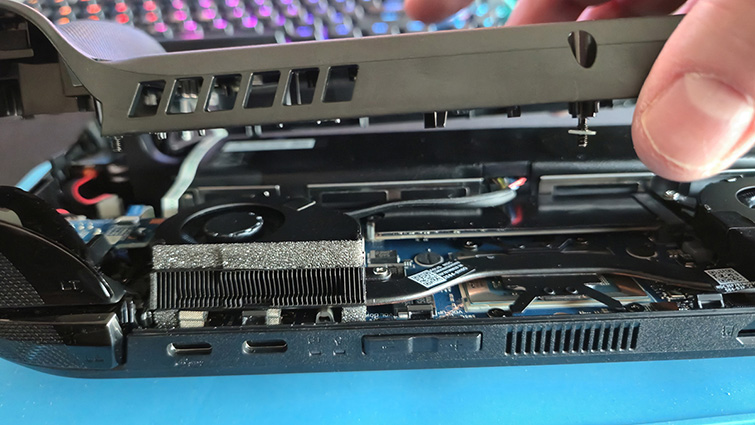
Working around the end of the case with your pry tool, from that top screw, you’ll need to carefully unclip the back part of Ally. Be careful not to snap the thin ribbon cable connecting the buttons on the back to the motherboard. You don’t have to disconnect this cable to change the SSD, but just be careful with it as you lay the back of the chassis down.
 Next, disconnect the battery by unclipping the connector. It’s tight and needs a bit of reasonable force. I recommend that you disconnect the battery, but you don’t have to. If you don’t, at least make sure that the machine is off and not connected to the mains power.
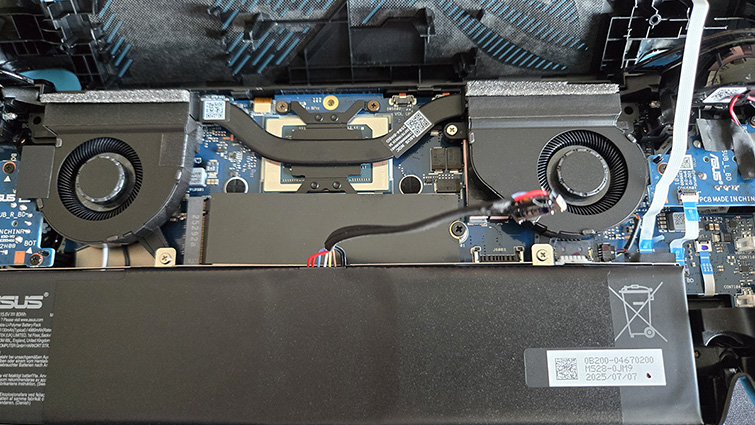
The NVMe SSD is situated just above the battery and is held in place by a single screw. Removing the screw allows the drive to be pulled from its socket. There’s a bit of tape to dissipate heat that you can peel off the old SSD and place on your new SSD (if it doesn’t have a factory heatsink). Your new SSD is then pushed into the M.2 drive socket and screwed into place.
If you disconnected the battery, remember to reconnect it. You then just need to clip the Xbox Ally back together and screw it back up, taking care to properly fold the cable connecting the back buttons to the motherboard.
Just as you needed to do the first time you switched it on, you will need to power the Xbox Ally X from the mains to get it going again. With the hard bit over, now for the slow process of reinstalling the operating system. This part is easy, but it can take an extraordinarily long time.
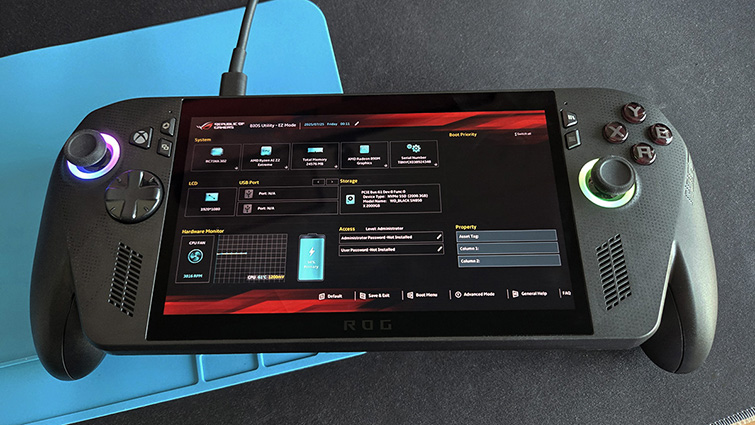
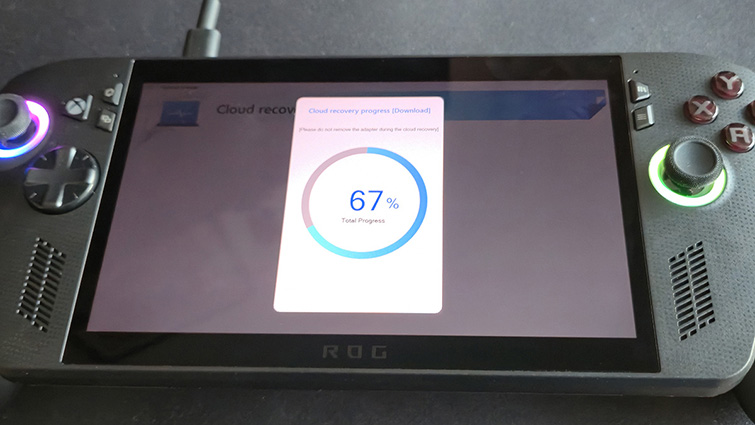
On restarting the device, repeatedly tap the volume down button until the BIOS menu screen is displayed. If you’ve never seen this sort of menu before, it can look a bit intimidating. But we are only going to mess with one part of it. Whilst I encourage curiosity, this is probably not the time, so be careful to only select the settings that I tell you to. Select “Advanced” and “ASUS Cloud Recovery”.
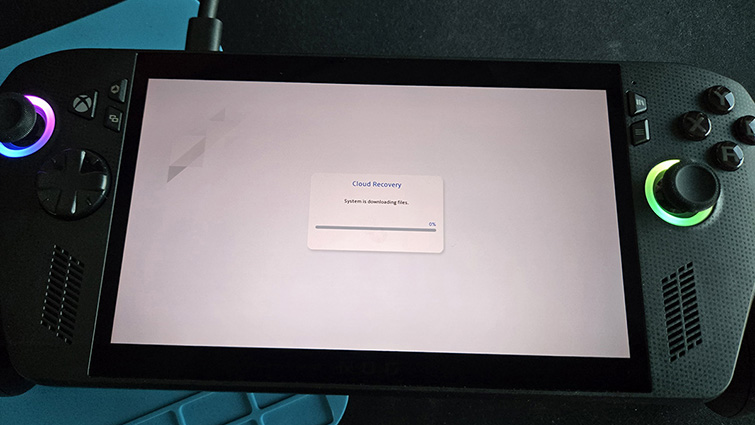
As the new drive is empty, none of your earlier settings are available, so you are going to need to follow the prompt and connect to your Wi-Fi again. Make sure that your device is plugged in, as this is going to take a while. After many different downloads and restarts, you’ll find yourself at the Windows 11 set-up screen, identical to when you switched the Ally on for the first time.
If you are lucky enough to have an NVMe cloning device, you can just copy the data from your factory SSD to your new SSD, which can be quicker. A fresh install, though, may result in a robust Windows 11 setup.

During the testing of the new drive, I gained a little bit of insight as to how the Xbox Ally X saves power when running on battery. According to the box, the newly installed SSD, a PCIe Gen4 x4 WD_Black SN850X, is capable of read speeds of up to 7300MB/s. My first benchmark speed for the new SSD resulted in a max read speed of 3500MB/s. This was particularly strange as 3500MB/s is the top speed of a PCIe 3.0 NVMe SSD. The PCIe 4.0 interface of the ROG Xbox Ally X should reach the top end of the new SSD’s 7300MB/s write speed.
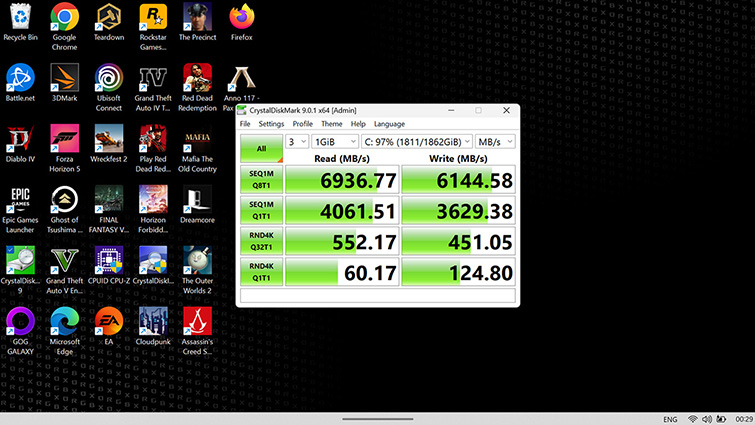
When I plugged the Ally into mains power and performed the benchmark again, the max read speed jumped to a much more reasonable 6936MB/s max read and 6144MB/s max write. This suggests that the Xbox Ally X downgrades the SSD speed to PCIe 3.0 when on battery, which kind of makes sense.
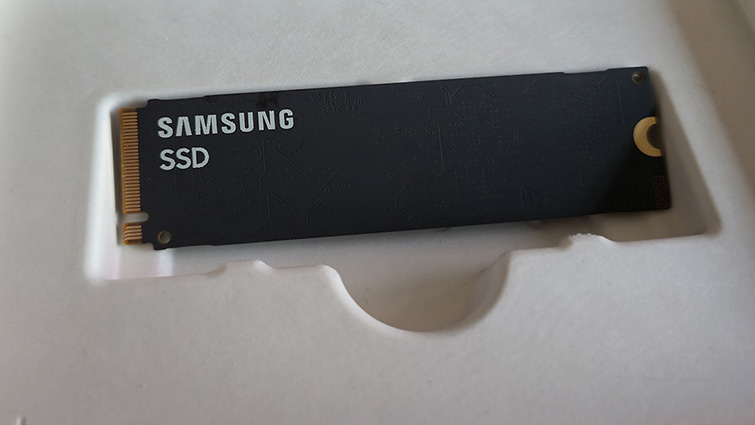
I didn’t check the original SSD speed, but from the Internet, another reviewer achieved speeds of 2500MB/s with the factory-installed Samsung drive (suggesting, perhaps, they should also have plugged in the Ally to properly test the drive), so at least I did better than them with the new drive.
Even 2TB is a bit lean if you have a large game library. Complementing an SSD with a high-performance microSDXC card, which runs at about the same speed as a regular old-school hard drive, may be a good idea. They are easy to insert into the Xbox Ally consoles, and great for some of your older games.
It’s a credit to Asus for making their handheld so easy to upgrade with a new SSD. Whilst it does take a little bit of courage if you haven’t done anything like this before, as long as you are careful, you shouldn’t have any trouble.